Showing posts with label Claymore Castings. Show all posts

Wednesday, 13 October 2021

Partizan on the Ground when I Was Not on the Ground!

What follows is almost certainly one of the oddest of all my posts in the nearly two decade of my blogging activity! That of the Partizan show last weekend, which I could not make! Definitely up there for one of the most offbeat, even bizarre posts!

These pictures were sent to me from a friend, Steve Maher, who knowing that it was impossible for me to make it down to Partizan due to Covid kindly offered to take some pictures of the Bodkin's Crecy game. The Bodkins, who consist of David Imrie, Dave Andrews, Matthew Bickley and Simon Chick are renown for putting on Late Medieval games of a very high standard. Anyone who regularly frequents Partizan will almost certainly be familiar with their superbly painted and presented games. 

The game was played using David Imrie's up and coming Claymore Castings Hundred Years War rules. The more I have gleaned about the rules the more they are looking like the golden rules for the Hundred Years War which I have been seeking out for the last two decades! I have over the years, tried many rulesets and they all seemed to have something fundamental missing when it came to the effect of "English" archery. If I had to pick one outstanding wargaming passion of mine it the Hundred Years War would be number one so it was a little painful not to be able to travel down and see the game for myself but, hey, I had to put my health first!

I have asked David to write a few words about the game before presenting the pictures to you.


Photo Above by Steve Maher


Photo Above by Steve Maher


Photo Above by Steve Maher


Photo Above by Steve Maher


Photo Above by Steve Maher


Photo Above by Steve Maher


Photo Above by Steve Maher


Photo Above by Steve Maher


Photo Above by Steve Maher


Photo Above by Steve Maher


Photo Above by Steve Maher


Photo Above by Steve Maher


Photo Above by Steve Maher

If anyone has any pictures they would like me to share of the game here on my blog, please leave a comment or contact me via the Contact Form on my Blog on the right hand sidebar. any contributions will be credited and very much appreciated.

And thanks to Dave Andrews, David Imrie, Simon Chick and Matthew Bickley for presenting such a beautiful game! One full of beautifully painted miniatures and in such abundance.

Saturday, 21 August 2021

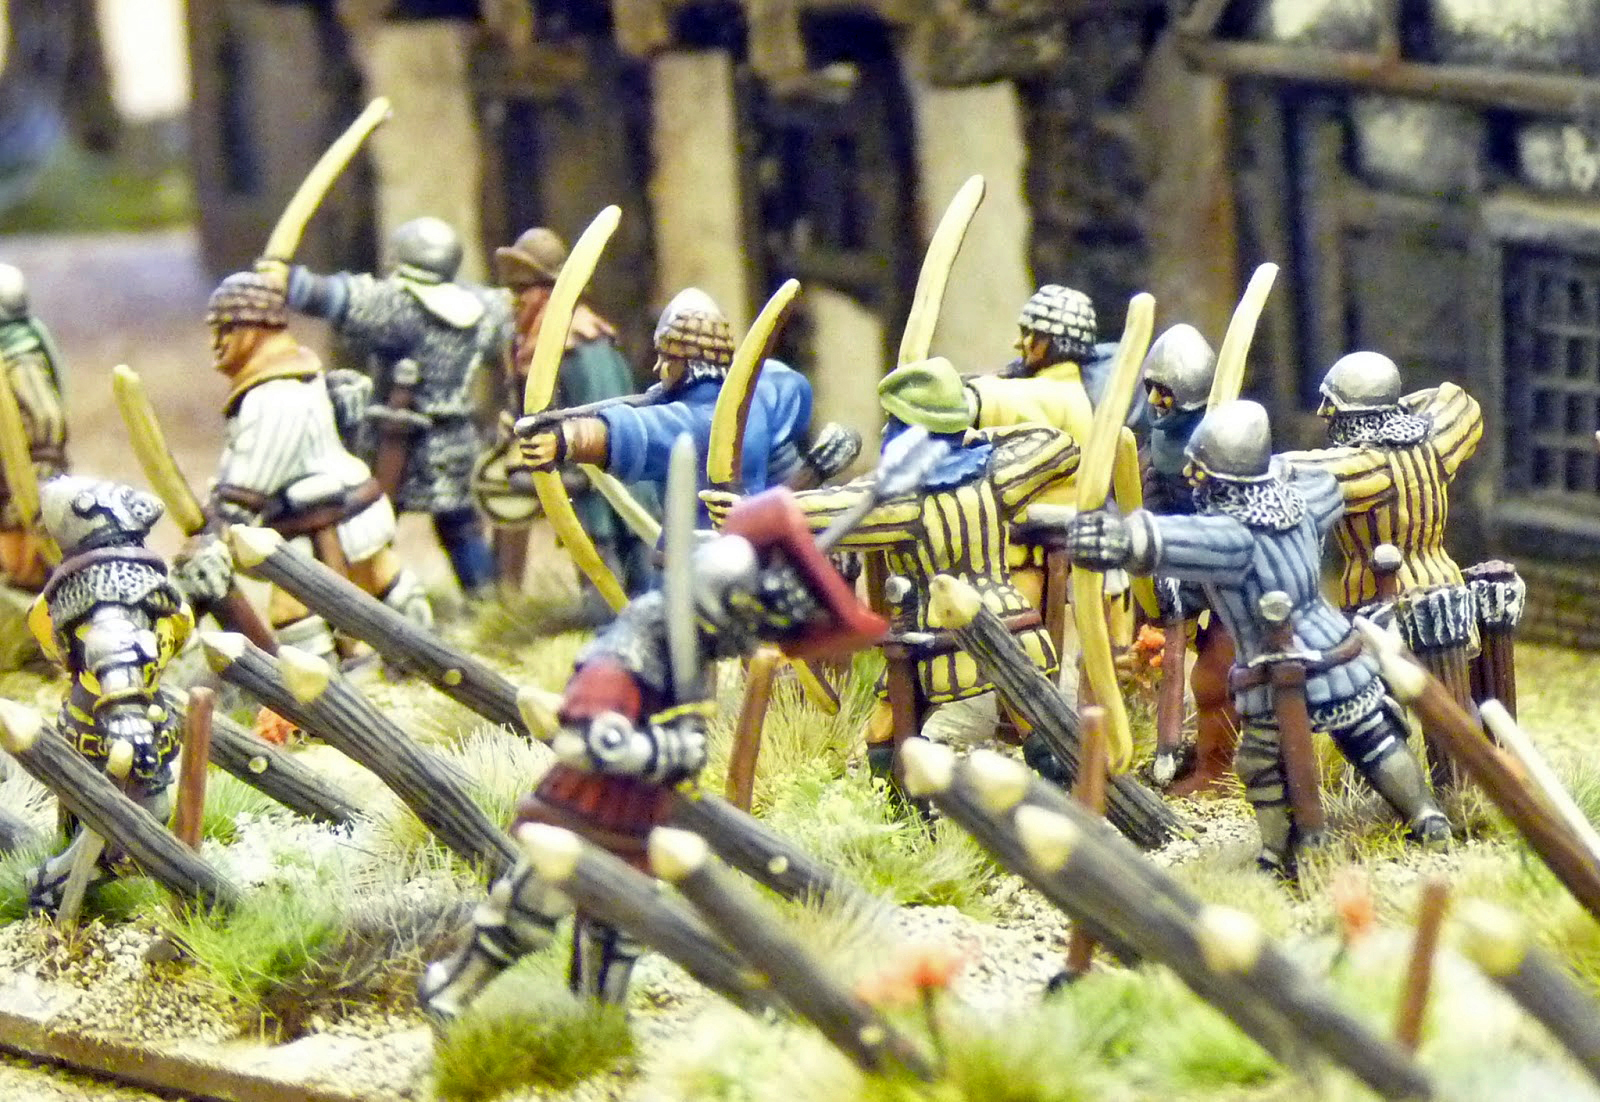
Hundred Years War English Longbowmen and Late Medieval Plans


These pictures were taken a few years ago but so far have yet to see the light of day. Since then the same miniatures have been partially re-based for Swordpoint and are awaiting the Swordpoint HYW supplement which I have on good authority will have some extra rules to render the HYW armies more playable withy the right period feel. That is all I can say on the subject without breaking the confidence of the person who passed on the news to me.

As I have so many Mainly Perry Miniatures (1415-1430)  already painted, based for Hail Caesar on 50mm x 50mm bases (Swordpoint demands 40mm x 40mm) I am in the process of slowly rebasing the whole army and will be adding to the numbers as I plod along. I will of course post pictures of each unit as I go. There is not much point in doing so at present as the miniatures have just been glued to the bases and are in need of some filler/spackle and sand etc. Not to mention paint and grass tufts. I'm sure we have all been there :>)

The pictures should give you some idea of the sort of basing, albeit three miniatures per base for Swordpoint with the archers instead of more seen below.

As usual, all the images are clickable with the exception of the last five which are small files.


The last four images were taken by David Imrie at the SESWC club in the same year that the Perry's produced their first HYWE miniatures in metal. so quite some time ago. That might explain why I have such small files- I probably published them on what was at the time a full website leaving the size of the files fixed.

Still, I think they are worth adding as they are an early illustration of my penchant for vignette style basing.


So, what of the future for my Late Medieval collection and in what direction? For some time now I have been very taken with the superb sculpts from both Clamore Castings and Antediluvian Miniatures. All my HYW armies are of the Late HYW variety and I have long wanted to go back in time and put together something from the early stages of the war. After what must be many years of procrastination I have finally decided to step back in time to before the opening of hostilities of the HYW and to the time that the Warbow was to first prove it's immense potential on the battlefield; to the time of The Battle of Dupplin Moor and the year 1332. Although there is a short time gap between 1332 and the opening of hostilities in the HYW at the Battle of Sluys 1340 by mixing and matching miniatures from Claymore Castings and Antediluvian Miniatures I should be able to build very accurate armies for both sides. 

I will be using the Claymore Rules when they are published after having had a few chats on the net with one or two people involved in the playtesting; they really sound as though they are going to do the trick! No mean feat as I have spent about 30 years looking for a good set of rules for the Hundred Years War. 

Saturday, 19 December 2015

Haggis Rampant Campagn; Hammer and Anvil

Thursday gone saw Mike and I team up again as the (somewhat vulnerable) Islemen but this time taking on Jim and Neil with their English. The scenario was to be Hammer and Anvil, a situation that the Islemen and their lack of armour are not superbly equipped to deal with when facing archery and Mounted Men at Arms.. However, the tabletop was covered in woods and thus we were not too disheartened as we would be able to make use of the woods, hopefully inducing the knights into a Wild Charge, having them stuck in the woods and bringing them into melee with our Fierce Foot and possibly reducing their prowess by loosing missile after missile with our Bidowers. 

I should add that the aim of the scenario was for Mike and I to move our troops off two diagonal sections approx 18" across on the opposite corners of the table. We played the scenario out with split retinues of roughly 12 points a piece.

Islemen Left Flank (My Troops):


Our Right Flank- Mike's Set Up:


Jim's Deplyment (English):

(I seem to have neglected to take a pic of Neil's deployment of his English but they were to come on just behind us more or less to  Mike's rear!)


The Tabletop at the Start of the Game:


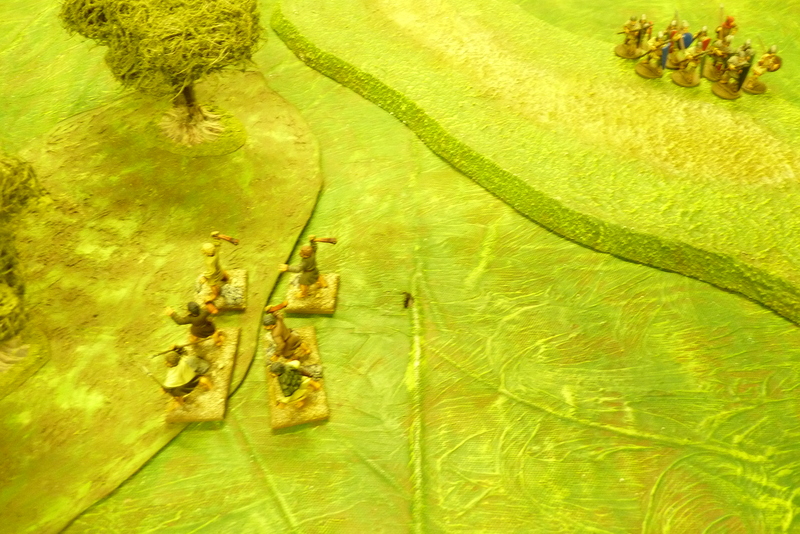
Jim's English archers took up position on the hilltop blocking our way to the table opposite edge.


Mike's Islemen move forward. mine decide that discretion is the better form of valour and stay put (ie I failed to activate a single unit. Not ideal when you have a burly unit of Mounted Men at Arms hammering onto the tabletop in the English turn Two!


"Thus come the English, with full power upon us" (to be read out aloud in Medieval Scots!). Neil's English Sergeants huff and puff trying to keep up with the Mounted Men at Arms!


The horrible result of bad dice activation rolls and Fierce Foot having to deal with the 'eavies! Mike's Fierce foot timidly retreat after receiving a mauling.


Just about the only unit that I managed to activate makes a mad dash for the opposite side of the hill to the English Mounted Men at Arms!


Jim's deploys his English Longbowmen as he awaits the arrival of any survivors Mike and I may have after Neil's Mounted Men at Arms have finished ravaging behind our lines.


Mike, who was receiving more than his fair share of 'Islemen luck' (TM) managed to get his Foot Men at Arms and a unit of Bidowers to a wood where neither Neil nor Jim could reach him. Probably not in time anyway!


A unit of my Timid, oops sorry, Fierce Foot that seemed destined to stay exactly where they started the game!


One of my Bidower Units, seeing the carnage behind decide to leg it off the table. This counts as a route which plays into Neil and Jim's hands in terms of victory conditions but as we roll for casualties after each game in a season (random number of games) it seemed the better option to live to fight another day rather than face Neil's Mounted Horrors!


Prior to the early exit of the above unit of Bidowers I had feigned running off the board with my two units of Bidowers, a ruse that was to actually prove useful as Jim stayed his hand in moving the English Longbowmen over to my side of the board just long enough.....


And how they ran....


And ran.....


And ran.... all the way to our objective, the corner of the table. The result being one unit of Bidowers off the table at exit point and one Glory Point to me! Doesn't sound like a lot? Well, I'm in negative equity as far as glory points are concerned so it was a moment to savour for me :>)


Mike also managed to get his Bidowers off the table at the requisite exit points but with the units that had routed, voluntarily or deliberately we lost the game by four Glory Points which Jim and Neil. A but of a slow game but looking back it was more fun than it seemed when I kept failing (and failing again) my activation rolls for my entire force! 

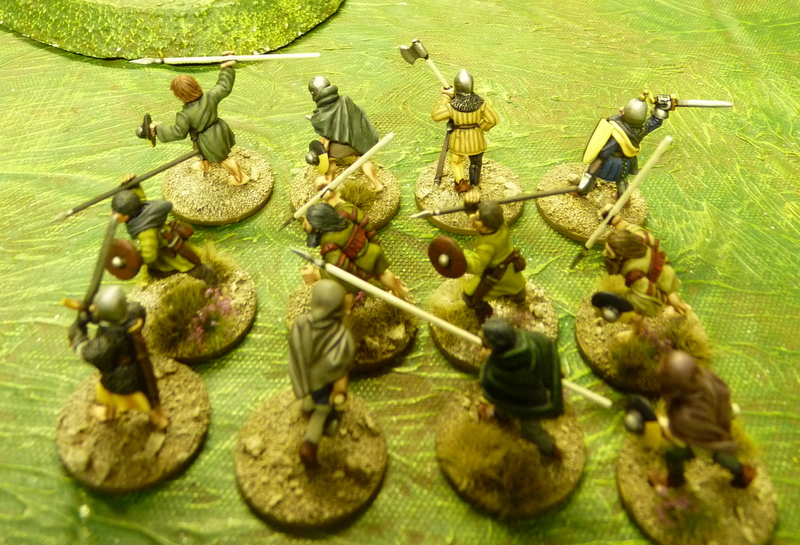
So, with a random number of raids left in the season I'm determinded to stick to the ethos of the Islemen list, ie lots of light troop types (Bidowers, Fierce Foot) and probably only one unit of men at arms. I've got a unit of the rather beautiful Claymore Castings Highland Archers primed, undercoated and ready to paint but I'm going to try to finish of the Fierce Foot and Bodowers first- I've still got 24 models to go! Thanks Thoth that the Gripping Beast British and Welsh Kingdoms miniatures don't make bad substitutes for the Highlanders!

Bye for now.

Sunday, 13 December 2015

Haggis Rampant Campaign Game II; Blood Fued

Thursday gone saw the resumption of our Haggis Rampant Campaign. This time it was Mike and I, with our Islemen Retinues facing off against up Sweary Nige's(TM) English. We rolled for the level of the raid and again for the scenario which turned out to be Blood Fued! Excellent I thought, the perfect scenario to get my leader, who carried the stigma of the Insipid trait killed off and have a chance to roll for something decent! Not so, Nige had to kill me leader to gain the full glory points and I had to try to stay alive! Just my luck, or was it? 

Mike's boast was to get one of his units off Nige's table edge but my Insipid Lord was to prove to be deliciously aggressive in the particular game. Not that I wanted him to die of course- oh no ;>)

Here is Nige English Deployment:


And that of us Raggedy Islemen:


Nige moved his Mounted Men at Arms down our left flank aggressively at speed in order to bring my Men at Arms and ultimately my leader to force of arms. It was no surprise that my Fierce Foot with their Fleet Footed ability were to head to the woods to try and entice his Mounted Troops into a ( very silly) Wild Charge in order for them to get stuck in the woods fighting a losing battle. This kind of backfired as my Fierce Foot proved to be apathetic and rather tame in failing their activation rolls twice and steadfastly refusing to move from the spot! Luckily I had rolled for my Men at Arms on Foot prior to rolling for my Fierce Foot and they were able to get into a position where they could 'block' Nige's Mounted Men at Arms. Or were they moving there quite deliberately in order to get their (damn) Insipid Lord into a hopefully fatal challenge? We will never know ;)

Meanwhile Mike moved his troops up the table on our right flank hoping to get into a position where he could proudly boast that he's run across the table width ways!


On Nige's next turn he continued his aggressive tactics racing his Men at Arms in front of his (Death Ray) Longbowmen for the latter to take up position where they could launch their devastating volleys. His Men at Arms were now within 12" and it would have been rude of me (if not insipid!) not to follow up his aggressive moves with equally chivalrous behaviour. Thus it was that Thomas de Thunbe, my lord, challenged him to trail by combat. Nige got three hits on me and I managed only one. One dead Thomas de Thumbe was the result. Was I unhappy? Not really LOL :>)

So, with the game effectively over half way between Turn Two; Nige had deservedly gained his full Glory, Mike never had a chance to make it across the table and I was in negative equity with Glory Points again! I now hold the esteemed title of having the lowest score in glory, not only with the Scots who have certainly suffered the "slings and arrows of misfortune" against their English protagonists but of both the English and the Scots! anyone who's smart can see that I've got a little bit of work to do! 


Mike heading up our right flank:


One of the proudest moments, aside from getting rid of Thomas de Thumbe was rolling 11 hits with my Fierce Foot on Nige's Mounted Men at Arms who scored only one hit! Slowly but surely my Feirce Foot eliminated Nige's Men at Arms until his lord was dead. It must at this point be pointed out that this counted for nothing as the game was over half way through the first turn! 

Nice pics though ;>)


Bye for now.