I was handsomely equipped with with some Challenger I's complete with HQ's and infantry support. I decided (re: advised by Nige!) that defence in depth was the way to go so I set about doing just that. I had two Challenger I's posted forward in my deployment zone supported by infantry backed with Anti Tank weapons. I placed my reserve HQ forward with the group so's to have a clear line of sight for the Soviet onslaught whilst keeping my Top Brass concealed in a wood where they would be safe until needed and kept back one Challenger I in reserve. I could also call upon the help of air support if needed. Pretty much all of my kit was dug in with reserve entrenchments to fall back on 'just in case!' (I hope my opponent Jim isn't reading this!)
Challenger I: forward Position:

Ground to Air:

Back up!:

Top Brass Hidden in Wood:

Secondary HQ with Artillery Commanders (& Supporting Infantry Platoon):


Harrier to the Rescue?:

Recon For the Ruskies!:


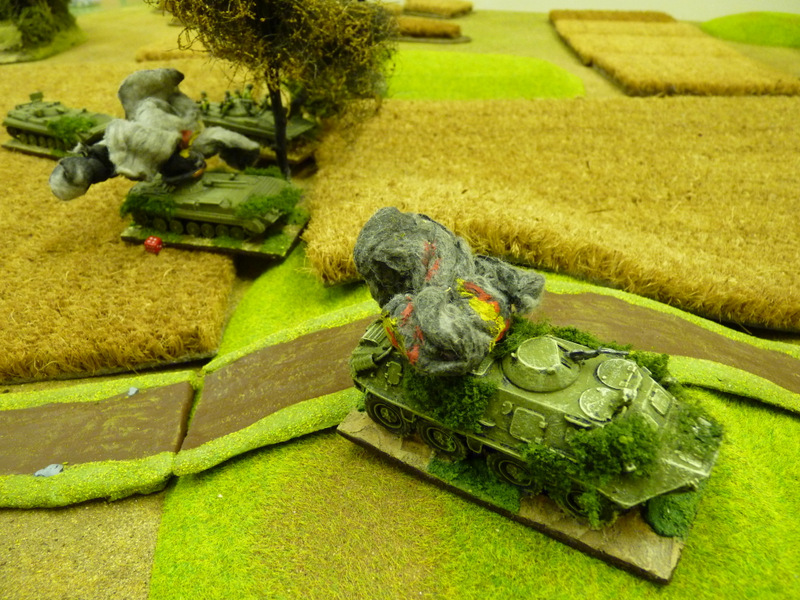
My Challenger's challenges the Soviet Recon:


Soviet infantry Regiments Begin to Move Forward after Recieving a Severe Mauling to their Recon:

Soviet Air Power Fails to knock out any of my Challenger's!! Chobham Armour Rocks!!

Eventually my Forward HQ is knocked out of the Action! Ouch!!:

Soviet Hordes Continue their Seemingly Inexorable Advance:

The Harrier jumps into the action only to cause a Friendly Fire incident!! Ouch again!!

I Manage to Suppress my own Forward Infantry with Air to Ground!! Maybe the Tide is Turning for the NATO Forces?

Bye for now
No comments:
Post a Comment
Please Feel Free to Leave a Comment